Introduction
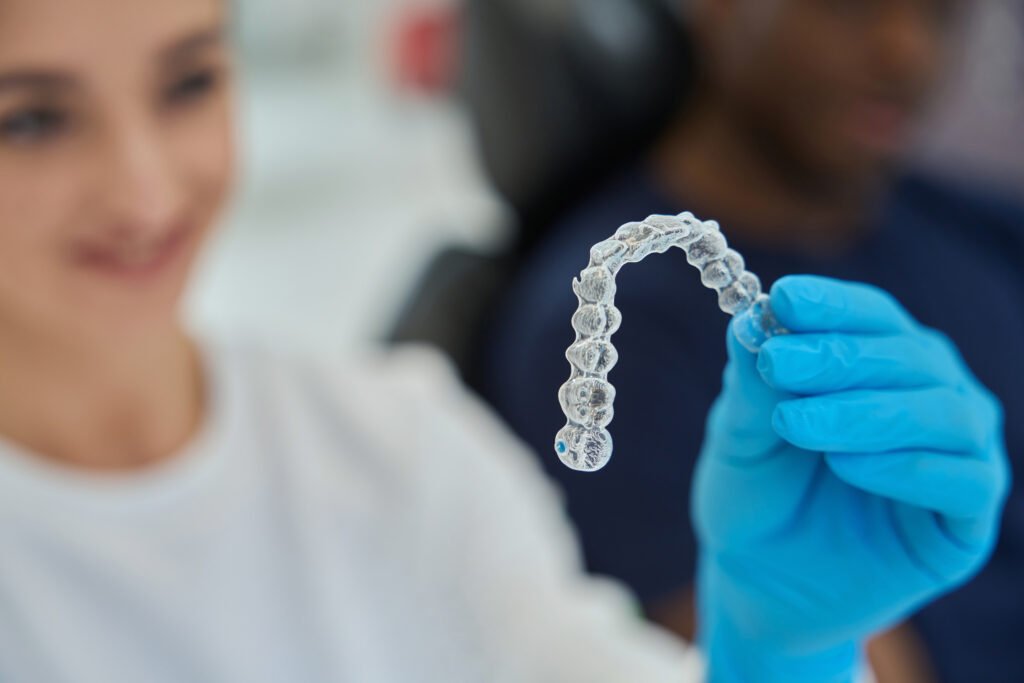
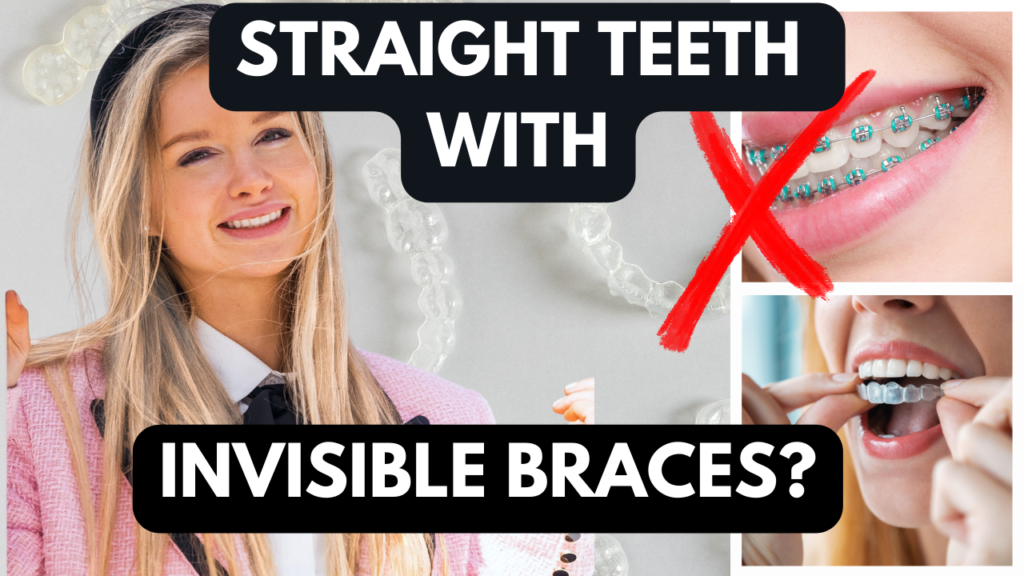
Welcome to this blog post (and video), where I share my personal experience with Orthoclear’s invisible braces. Deciding to get braces as an adult was a big step. In this blog (and video), I take you through my treatment process, from the initial considerations to the final result.
VIDEO (Spoken in Dutch, English subtitles available)
Why I chose (invisible) braces at an adult age…
As a child, I continued thumb-sucking until a relatively old age, a habit that was difficult for me to break. I remember my mother applying a very bitter liquid to my thumbs, designed to discourage thumb-sucking. However, this didn’t really work, as I would just suck it off.
Unfortunately, this prolonged thumb-sucking led to some of my teeth becoming slightly crooked. I had a mild overbite, and especially my two lower teeth were noticeably misaligned.
Why not the traditional metal braces?
I remember that traditional metal braces were an option as a teenager, but the dentist told me it was definitely not mandatory. When I heard the words ‘not mandatory,’ I just let it be, which I now regret, of course! I always thought that once I became an adult, it was too late for braces for me. I also didn’t really like the idea of walking around with metal braces for 1-2 years as an adult…

Discovering Invisible Braces
Honestly, for a long time, I didn’t know that ‘invisible braces,’ like those from Orthoclear, existed. It was only when I accidentally read about them on the internet that I thought: “Wow, this is really what I was looking for!” So there is an alternative to getting straight teeth in adulthood without wearing those ugly metal things. I immediately came across Orthoclear and made an appointment for an intake consultation right away!

My Treatment Process
1. Initial Consultation at Orthoclear’s Smilestudio + 3D Simulation
I initially visited Orthoclear’s Smilestudio for an intake consultation and a 3D scan of my teeth. Based on this scan, it was determined that Orthoclear would be suitable for me, which was indeed the case. About two weeks later, I received a 3D simulation that showed how my teeth would gradually shift to the planned final result, step by step.

2. Receiving the Set of Aligners and Retainer
After the initial consultation, I received my set of aligners and a retainer from Orthoclear. Initially, I had 12 sets for a period of about six months. Each set had to be worn continuously for 2-3 weeks, for at least 20-22 hours each day.

3. IPR Visits
Due to insufficient space between my teeth, I had to visit the dentist three times for IPR (Interproximal Reduction). This procedure selectively removes a small amount of enamel between adjacent teeth to create extra space for alignment. IPR is often necessary in orthodontic treatments when teeth are slightly overcrowded or overlapping. Orthoclear collaborates with various dentists in the Netherlands, and for my treatment, I visited a dentist in Rotterdam.
4. Completing the Treatment?
After completing the 12th aligner, I returned to Orthoclear’s Smilestudio in Tilburg for a final evaluation of my teeth. It was decided to proceed with another set of aligners to achieve perfect results. My teeth were not yet optimally straight, and it’s common for people to need 2-3 full sets of aligners for the best outcome. At the time of writing, I have two aligners left before completing my treatment, and my teeth are quite straight now!
My Experience: Pros and Cons
Personal Advantages:
- The braces are almost invisible. Up close, there’s a shiny appearance on the teeth, but otherwise, they’re not noticeable. They also slightly alter speech, but overall, they’re much less visible than traditional metal braces.
- They can be removed for social events, allowing more freedom during such occasion
- Since the braces are removable, you can eat whatever you want without dietary restrictions.
Personal Disadvantages:
- I found it challenging to wear them for 20-22 hours a day. I’m someone who snacks a lot and prefers smaller, more frequent meals. This made it difficult to wear the aligners enough, especially since you need to brush your teeth every time you eat. Also, you can only drink water while wearing them.
- I’ve forgotten my braces twice in a restaurant after taking them out and wrapping them in a napkin. They’re easy to lose this way, so be careful when dining out. Orthoclear provides a storage box for the braces, which I highly recommend using to avoid losing them.
Price of Orthoclear Braces
The price of Orthoclear braces is generally more affordable compared to other invisible brace brands like Invisalign. Orthoclear offers transparent pricing and the convenience of monthly payment options. For specific pricing details and to explore various payment plans, it’s best to visit Orthoclear’s official website. They provide comprehensive information and options tailored to individual needs and preferences.
DISCLAIMER:
This blog post about invisible braces is intended for informational purposes and should not be considered professional dental advice. Always consult a qualified dentist or orthodontist for advice and treatments tailored to your specific needs.


Pingback: Everything You Need to Know About Invisible Braces: A Complete Guide - Doctor Contour